If you pick up the next copy of Performance MINI you'll notice a massive, extremely exciting eight-page feature towards the back (page 76 to be precise).
That feature is brought to you directly from the workshop at AirRide, where we talked the Performance MINI guys through the fitting process for an AirRide Gold kit.
Most AirRide Gold kits are fitted in the same way, so, if you're thinking of fitting air to your car, the mag may be worth a look even if you don't have a MINI.
In the meantime, here are AirRide's top fitting tips for AirRide Gold*:
- We'll start with a boring but important one - always read the instructions before doing anything! Fitting air is simple enough if you know what you're doing but it's easy to make a mistake if you're not careful.
- Always take some measurements before you begin. Place your vehicle on a flat surface and measure the height of each corner from the 12-o’clock position on the top of the arch to the floor. Then plan how much lower you would ideally like your vehicle, considering what seems practical from the measurements.
- Start off by installing the management. Installation can be a two-day job so if you start with the management, you can come back and do the rest later (as soon as you take the suspension off, your car will be immobile.)
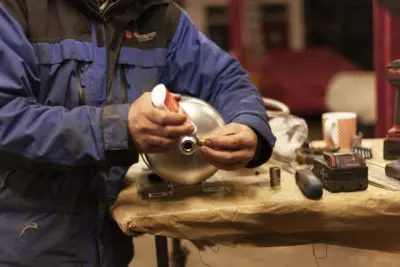
- When installing all your management, make sure to use thread sealant to seal the unions. Unions will seal better if not pressurised for 24 hours so fit them in advance if possible!
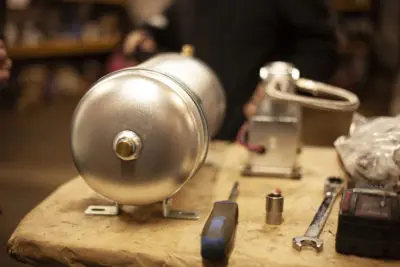
- When finding somewhere to put your compressor, people often find that boxing it away to keep it safe is a good idea, as it reduces sound and improves safety. However, it will need air flow as it will get hot and could exceed the temperature rating. Use a 12v computer fan for some added air flow, if needed.
- When connecting your airlines, use bulkhead fittings if you can. These can go through panels, meaning you don't have airlines noticeably running all over the place, and they prevent the outside of the line from being scratched.
- To release an air line after it is already secured, depressurise it, push it in, then push the retaining collar in and, while still pressing the collar, firmly pull the line out. They can be fitted several times but for a good seal cut half an inch off to seal on a fresh piece of line.
- Gold kits are four-way adjustable, so remember to set them how you want before fitting. It's normal to have been too adventurous with your drop – just remove the struts and re-adjust. This may take several attempts to get just right! You can adjust the height without fully removing the struts but be careful to count the turns to ensure left and right are even, or just take them off to be sure.
- Once the kit is fitted, set the car to about half way between your dropped height and max lift. Take it for a test drive. Does it need to be lifted or dropped? This is very subjective, so the decision is up to you! You can then set the computer’s pre-sets for different ride heights.
Use the car finder above to find a Gold kit for your car, or call us on 0800 7720315 or e-mail us at enquiries@airride.uk for more information!
*Please bear in mind this is not a step-by-step guide, but tips to accompany a full set of instructions. AirRide does not hold any responsibility for injuries sustained fitting air suspension or any consequences arising from doing so.


